
Exhaust manifold (part 2)
After having replaced the right side exhaust manifold with a used one, Dad also had to work on the left side manifold. The gasket had a slight leak, and the manifold had a corner broken off. The manifold was not replaced, but Dad took it off and reinstalled it with a new gasket.
As with the right manifold, it was no easy task. One of the studs had stripped threads, the nut was completely loose and no way to tighten it. Looks like the previous owner found a "clever" way to "fix" this: drill a hole through the stud and drive a cotter pin in the hole! Of course that didn't make the nut much tighter, so Dad had to properly fix this. Here's this infamous stud, which took a lot of work to get out.

So in the end, both manifolds were taken down, one of them had to be replaced, and both gaskets were replaced as well. No more exhaust leaks and noises, and no more risks of getting stranded due to a completely blown gasket or broken manifold.
Another issue that Dad wanted to fix was the valve seals. These are small rubber seals that prevent engine oil from entering cylinders at the valves. Over time the rubber degrades and dries, and then oil can make its way inside the cylinder under some conditions.
Typically, this happens on a cold engine that hasn't ran for some time, where residual oil from the engine heads will slowly leak past the valves and into the cylinders. When the engines is started, the oil burns and a blueish smoke cloud comes off the exhaust pipe.
Also, if the engine runs at idle for some time, or when descending a steep downgrade with the foot off the gas pedal, high levels of vacuum at the intake manifold caused by the throttle valve being closed attracts oil in the heads around the valve stems. Upon acceleration, the oil gets sucked past the eroding seals and down through the valve guides, where it burns in the exhaust. Pressing the accelerator after a long coast will cause huge clouds of blue-white smoke exit the tailpipe. The burning smoke will disappear during cruising or highway speed.
The older the seals get, the more obvious the problem gets, oil comsumption increases, and those blue smoke clouds just make the vehicle look like an old wreck. Fortunately, this is not a very serious problem, it is not very hard or expansive to fix. However the valves have to be done one by one, wich is somewhat time consuming.
Normally a special tool is needed to compress the valve springs and remove them, but it could not be used due to the lack of space. The floor opening in the engine compartment of the Travco is right at the same level as the valves and prevented the use of the tool.

So Dad decided to make his own spring compression tool. A few hours of work, some adjustments, and the tool was ready. It allowed Dad to easily compress the valve springs and then take them off.
Here's the homemade tool. Just turn the threaded rod!


Dad used compressed air through the spark plug hole to keep the valves in position and prevent them from falling down in the cylinders while he replaced the seals. Seal were done on all 8 cylinders, and gone are the huge smoke clouds after engine starts or at the bottom of hills!
And while being there, Dad cleaned and repainted the valve covers.

Power loss
Another engine issue, this time a more serious one...
On a few occasions last summer, the motorhome experienced significant power losses. The problem seemed to get worst toward the end of the season. The issue would appear typically during a sustained climb. The engine would bog down drastically, loosing all power, and would crawl its way up the hill at a very low speed in 1st gear. Not fun at all !
This started two years ago, but last summer it got so obvious that Dad got worried and couldn't ignore it anymore.
Dad first suspected the fuel pump. He checked it, found nothing wrong with it, but decided to replace it anyway, just in case. But the problem remained. Normal driving, highway driving, was just fine, even when flooring the gas, like when passing. But during long climbs, the engine still lost power.
So Dad tought about the carburator. Maybe the choke wasn't working right, or something like that. Since until now the engine always ran just fine, Dad never actually tought about the carburator. So it could be anything, like some dirt inside the carb, a bad float, or maybe it just needed some cleaning and a readjustment.
Carbs like this are pretty complex. The carb is a Carter ThermoQuad, pretty much the standard carb found on many Dodge/Chrysler V8s of the era. Dad didn't want to touch it himself, so he started looking for a guy who knows these carbs. With today's electronic fuel injected engines, carbs are a thing a the past, and it is not easy to find a guy who knows about these 40-year old carbs. But Dad found his guy, and brought him the motorhome.
He took the carb off for a complete overhaul, and soon realised that sometthing was wrong: a part was missing !
The missing part is called a metering rod. There are 2 such rods in a ThermoQuad. They are some sort of thin needles that basically limit the fuel when the engine is under light load. Under high loads (like going uphill) the engine shouldn't be too affected by this missing part. However, it could make the air-fuel ratio too rich under light load, and affect the fuel mileage. In the end, it looks like the engine had been running without this part for some time (it was certainly missing when Dad bought the motorhome 6 years ago), and there was no clear evidence that this was causing the power loss issues.
Anyhow, Dad managed to find replacement metering rods, and his guy completely cleaned, rebuilt and readjusted the carb. New gaskets were used and the carb was put back in the Travco.
And now the engine runs perfectly. The big 440 starts nicely, idles smoothly, roars instantly at the touch of the gas pedal, and pulls the Travco up any hill for any lenght of time with power to spare !!
Storage compartment
Meanwhile, Dad added a new storage box on the motorhome. Travco's storage compartments are not very large, and Dad was looking for more space, specifically some place to store his leveling blocks. So he decided to add a new storage box, under the rear left storage compartment.
There wasn't enough clearance for Dad to use standard hinges for the compartment's door, so he had to figure out a different way to make the door open and close and lock. Some "Whale Blue" paint, and the job was done!
Here's the new storage box, with the door closed and open. Pictures don't show the lock details, but as usual it's a very clever design, typical of Dad !


Trips
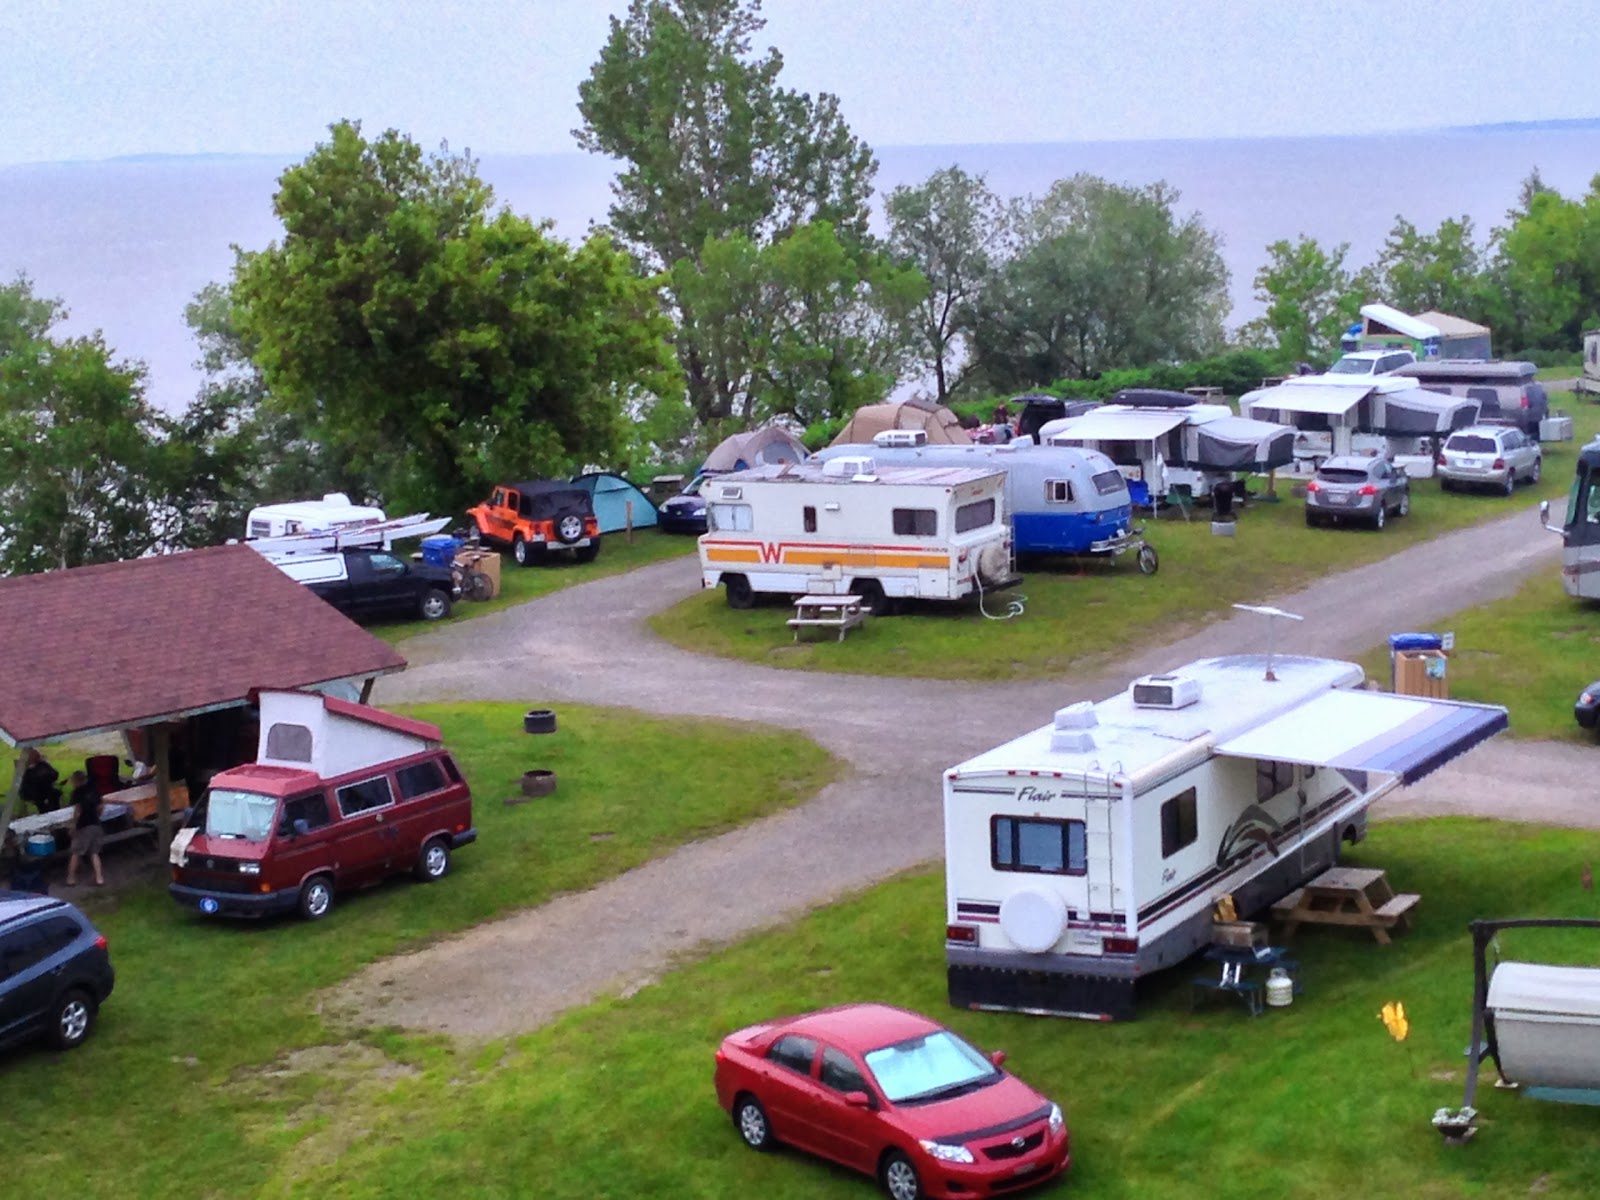
The Blue Whale made a few trips this summer. First one was a camping weekend at the Pointe-aux-Oies campground in Momtmagny. Family and friends were on adjacent sites, as shown on the following picture where the Whale is just beside Dad's brother Yvon's 1975 Winnebago.
This summer the Blue Whale went up Quebec's north shore, all the way to Sept-Îles, QC, where my parents visisted friends and relatives.
Next was a trip in the Laurentians, north of Montreal, for a few days, then Lac St-Jean and Charlevoix in early September. This year's last trip will probably be during the canadian Thanksgiving weekend (mid-October), in the Beauce region. With this trip, the Blue Whale will have travelled over 3000 km this summer.

